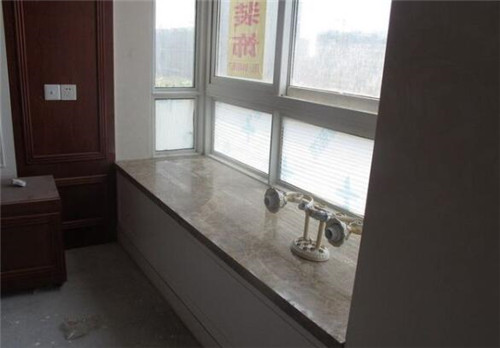
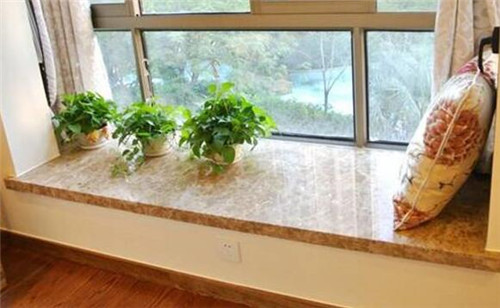
In modern home improvement, most of the houses are designed with bay windows, and more and more I like to use marble to install it. The use of this material is not high only aesthetic, but also practical, but you know to use this to install will be compared to install The other is more complicated. The following Xiao Bian will tell you about when the marble window sill is installed properly and the ledge stone installation steps are explained.
When is marble sill installed?
The normal condition of the ledge is in the final installation. Generally speaking, it is appropriate to install the ledges after painting the wall lacquer. However, there is a situation where marble must be installed before the putty, because when the wall is peeled, the water is too much water, so as to make the wall damp, you must know that the putty is not easy to dry up, especially when the windows are fogged in winter. In this case, there may be water droplets that may seep into the wall along the window sill, causing the putty to be less likely to dry out. In view of this situation, it is also recommended that you secure the ledge stone to reduce the dampness of the wall, making the plaster, Putty is also going to do faster.
Window stone installation steps explained
1, before the installation must be prepared materials and tools, but also need to prepare things such as marble windowsill , welding machine, sawing machine, hand drill and some plane tools such as hand tools.
2. Before installing the marble window sill , we must first pre-embed the wooden bricks or iron pieces on the lower wall. This is also convenient for the work behind. The specific material is also determined according to the variety of the ledge to be more appropriate.
3, the installation should pay attention to its length, this side reminds you that is not more than 1.5 meters is the best, then also every 0.5 meters buried brick or iron is the best.
4, in the installation should be marked with high and low position, as well as the sill plate elevation line.
5, after the location and marking determined, this time still have to re-check whether the embedded parts meet the installation requirements. If it is found to be inconsistent, it can be corrected immediately.
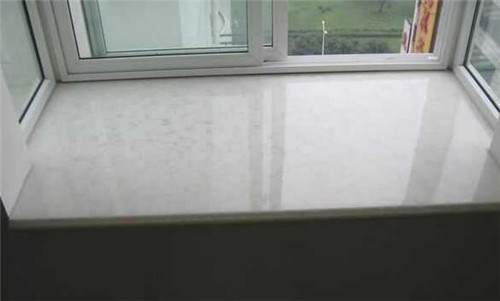
6. Install the bracket according to the design and elevation, then find the location and start installing the marble. Here we must remind you that we must correct the edge of the marble to ensure it is smooth and smooth. Then install the marble directly so that the gap between the installed marble and the window sill is smooth.

Summary: When marble sill is installed properly and the ledge stone installation steps explain the relevant content, it is introduced to this, most of the sill people are still installed in the marble, but when installing, we must follow the steps to do so, this window sill will More beautiful and practical.
Plasma Consumables Compatible for ESAB
Edaweld company have Plasma Consumables compatible for Esab PT31, Esab PT27, Esab PT23, Esab PT25, Esab PT38, Esab PT26, big range of plasma cutting consumables and spares including cutting tips,electrodes.
Plasma consumables produces the perfect cut when all the components are optimally assembled and the plasma torch uses our plasma consumables. This combination will ensure reliability in performance and optimum productivity levels. Compared with the original products, Edaweld plasma cutting electrode and nozzle service life can reach 90%,but our price is cheaper.

Esab Type Plasma Consumables, PT31 Cutting Electrode,PT27 Cutting Nozzle,PT38 Plasma Cutting Electrode
EDAWELD COMPANY LIMITED , https://www.jsedaweld.com